Subway tiles have become increasingly popular in kitchen design thanks to their timeless appeal and versatility. With their clean lines and classic look, subway tiles can instantly transform a kitchen into a stylish and modern space. However, many people are deterred by the misconception that creating a subway tiles kitchen requires a substantial budget.
In this blog post, we will provide you with tips and ideas for creating a beautiful subway tile kitchen without breaking the bank.
Choosing the Right Subway Tiles
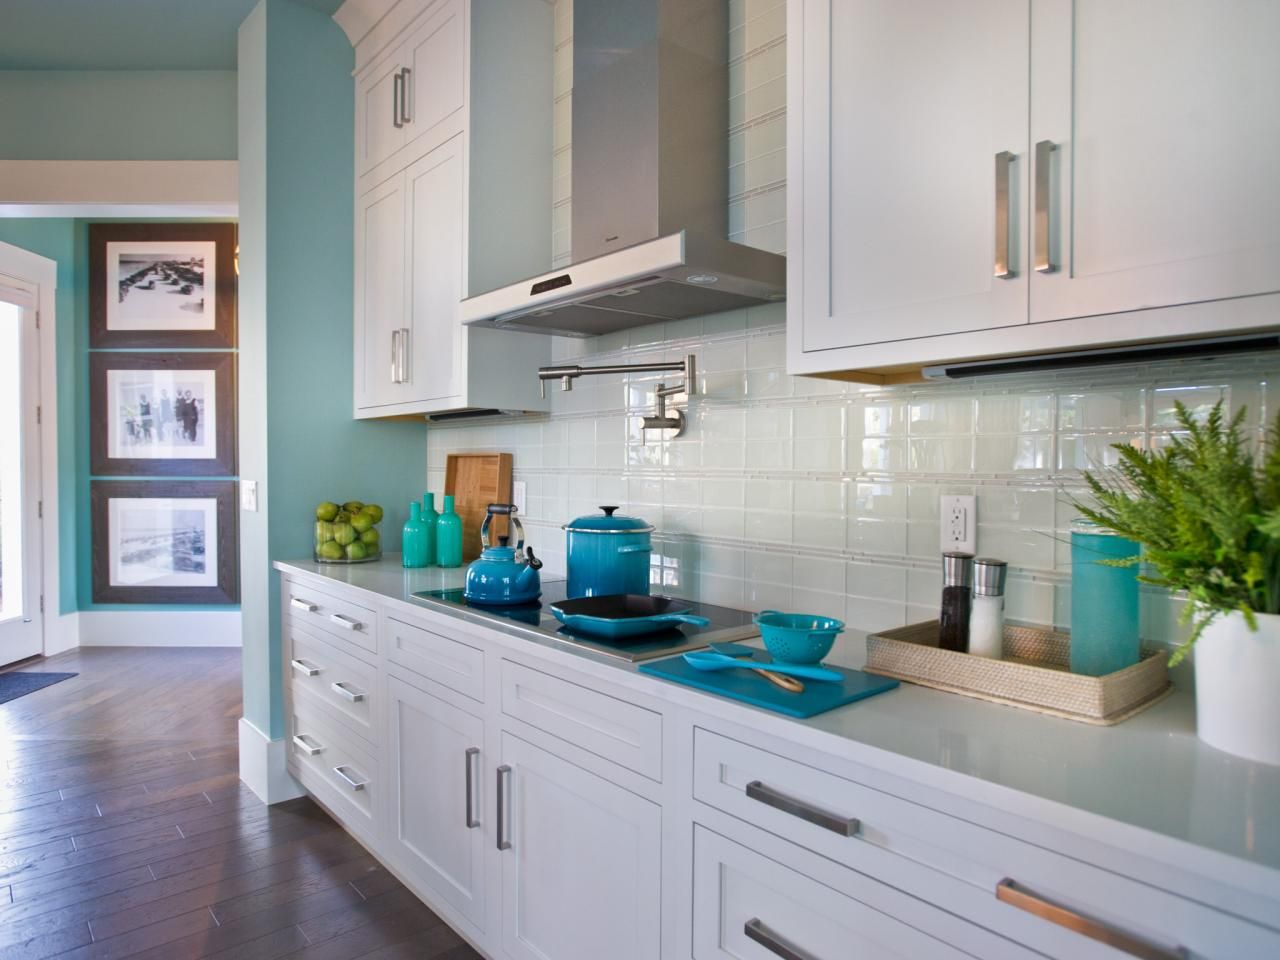
The first step in creating a stunning subway-tile kitchen is choosing the right tiles. Subway tiles come in a variety of options, including different colours, sizes, and materials. When selecting your tiles, it’s important to consider your personal style and the overall design of your kitchen. Whether you prefer a classic white subway tile or a bold-coloured option, there is a subway tile that will suit your taste.
To achieve a budget-friendly subway tiles kitchen, consider purchasing wholesale tiles that come with affordable prices. Buying tiles in bulk can significantly reduce the cost per square foot, making it an economical choice for those on a budget. Look for reputable wholesale suppliers who offer high-quality tiles at affordable prices.
Planning Your Layout
Careful planning is key to achieving a stunning subway tile kitchen. Before you begin installing the tiles, it’s important to measure your space accurately and determine the desired tile layout pattern. Popular patterns include the herringbone, stacked, or brick pattern. Consider the size of your tiles and the dimensions of your kitchen when choosing a layout pattern. Taking the time to plan your layout will ensure that your subway tile kitchen looks cohesive and visually appealing.

Preparing Your Space
Preparing your walls before installing subway tiles is crucial for a successful installation. Start by thoroughly cleaning the walls to remove any grease, grime, or residue. Repair any damaged surfaces, such as cracks or holes, and ensure that the walls are smooth and even. If needed, apply a suitable primer to create a smooth and adhesive-friendly surface for the tiles.
Installing Subway Tiles
When it comes to installing subway tiles, there are different methods you can choose from, including adhesive or mortar. The method you choose will depend on your skill level and budget. If you’re a beginner or working on a tight budget, adhesive can be a more user-friendly and cost-effective option. However, if you have experience with tile installation or prefer a more durable and long-lasting result, mortar may be the better choice.
To install subway tiles yourself, start by applying the adhesive or mortar to the wall using a notched trowel. Press the tiles firmly into place, making sure they are evenly spaced and level.
If you need to cut tiles to fit corners or edges, use a tile cutter or wet saw to achieve clean and precise cuts. Take your time during the installation process to ensure that the tiles are properly aligned, and the layout pattern is consistent.
Grouting and Sealing
Grouting is an essential step in creating a stunning subway tile kitchen. Not only does grout enhance the aesthetics of the tiles, but it also provides durability and prevents moisture from seeping between the tiles. When choosing grout, opt for a colour that complements your tiles and enhances the overall design of your kitchen.
To grout your subway tiles properly, start by mixing the grout according to the manufacturer’s instructions. Apply the grout between the tiles using a grout float, making sure to fill all the gaps. Once the grout has been set for a few minutes, use a damp sponge to wipe away excess grout from the tiles. Be gentle during this process to avoid removing too much grout from the joints.
After the grout has dried completely, it’s essential to seal your newly installed subway tiles. Sealing the tiles will protect them from stains and moisture damage, ensuring that your subway tiles kitchen remains beautiful and functional for years to come. Choose a high-quality tile sealer and follow the manufacturer’s instructions for application.
Finishing Touches
To elevate the visual appeal of your subway tile kitchen without breaking the bank, consider adding some finishing touches. One option is to use contrasting coloured grout to create a unique and eye-catching look. Alternatively, you can incorporate decorative inserts between the tiles for added visual interest. These inserts can be easily installed and come in various designs, allowing you to personalise your subway tile kitchen.
Another budget-friendly way to enhance your subway tiles kitchen is by adding open shelving or hanging plants. These additions can create an airy and inviting atmosphere while also providing functional storage space.
Lastly, updating your hardware, such as cabinet handles and knobs, can complement the subway tiles and give your kitchen a fresh and modern look.
Maintenance and Care
Once your subway tile kitchen is complete, it’s important to maintain and care for it properly to keep it looking stunning for years to come. Regular cleaning is essential to prevent dirt and grime from accumulating on the tiles. Use a mild cleaning solution and a soft cloth or sponge to wipe down the tiles regularly. Avoid abrasive cleaners or tools that can scratch or damage the tiles.
Conclusion
Creating a stunning subway tile kitchen on a budget is entirely possible with the right planning and execution. By choosing the right subway tiles, planning your layout, preparing the space, installing the tiles correctly, grouting and sealing, adding finishing touches, and practising regular maintenance and care, you can achieve a beautiful subway tiles kitchen without breaking the bank. Remember to explore your creativity and personalise your space to make it truly your own.
We hope this blog post has provided you with valuable tips and ideas for creating your dream subway tile kitchen.